Using of AWS Location Service
Contents
- - Introduction
- - Create a geofence
- - Create a tracker
- - Set up notification
- - Create a Lambda function
- - Create EventBridge rule
- - Set up a Lambda function
- - Test position update
- - Conclusion

Introduction
It’s hard to imagine a modern world without digital maps. Almost all the technical giants like Google or Apple have their own solution in the digital mapping industry. Amazon decided to join them and last year provided AWS Location Service.
AWS Location Service is a location-based service that developers can use to add geospatial data and location functionality to applications. Customers can visualize data on a map, recommend routes, use geocoding to convert plain text addresses into geographic coordinates, use reverse geocoding to convert latitude and longitude coordinates into addresses, and monitor and track assets such as fleets of vehicles.
Let’s try to implement a test use case where you get notification when somebody enters the specific area using AWS Location Service.
Step 1: Create a geofence
Geofence is a set of coordinates where we indicate a zone around the delivery address. For this purpose we use geojson.io. Also you can use the Amazon Location interactive tool.
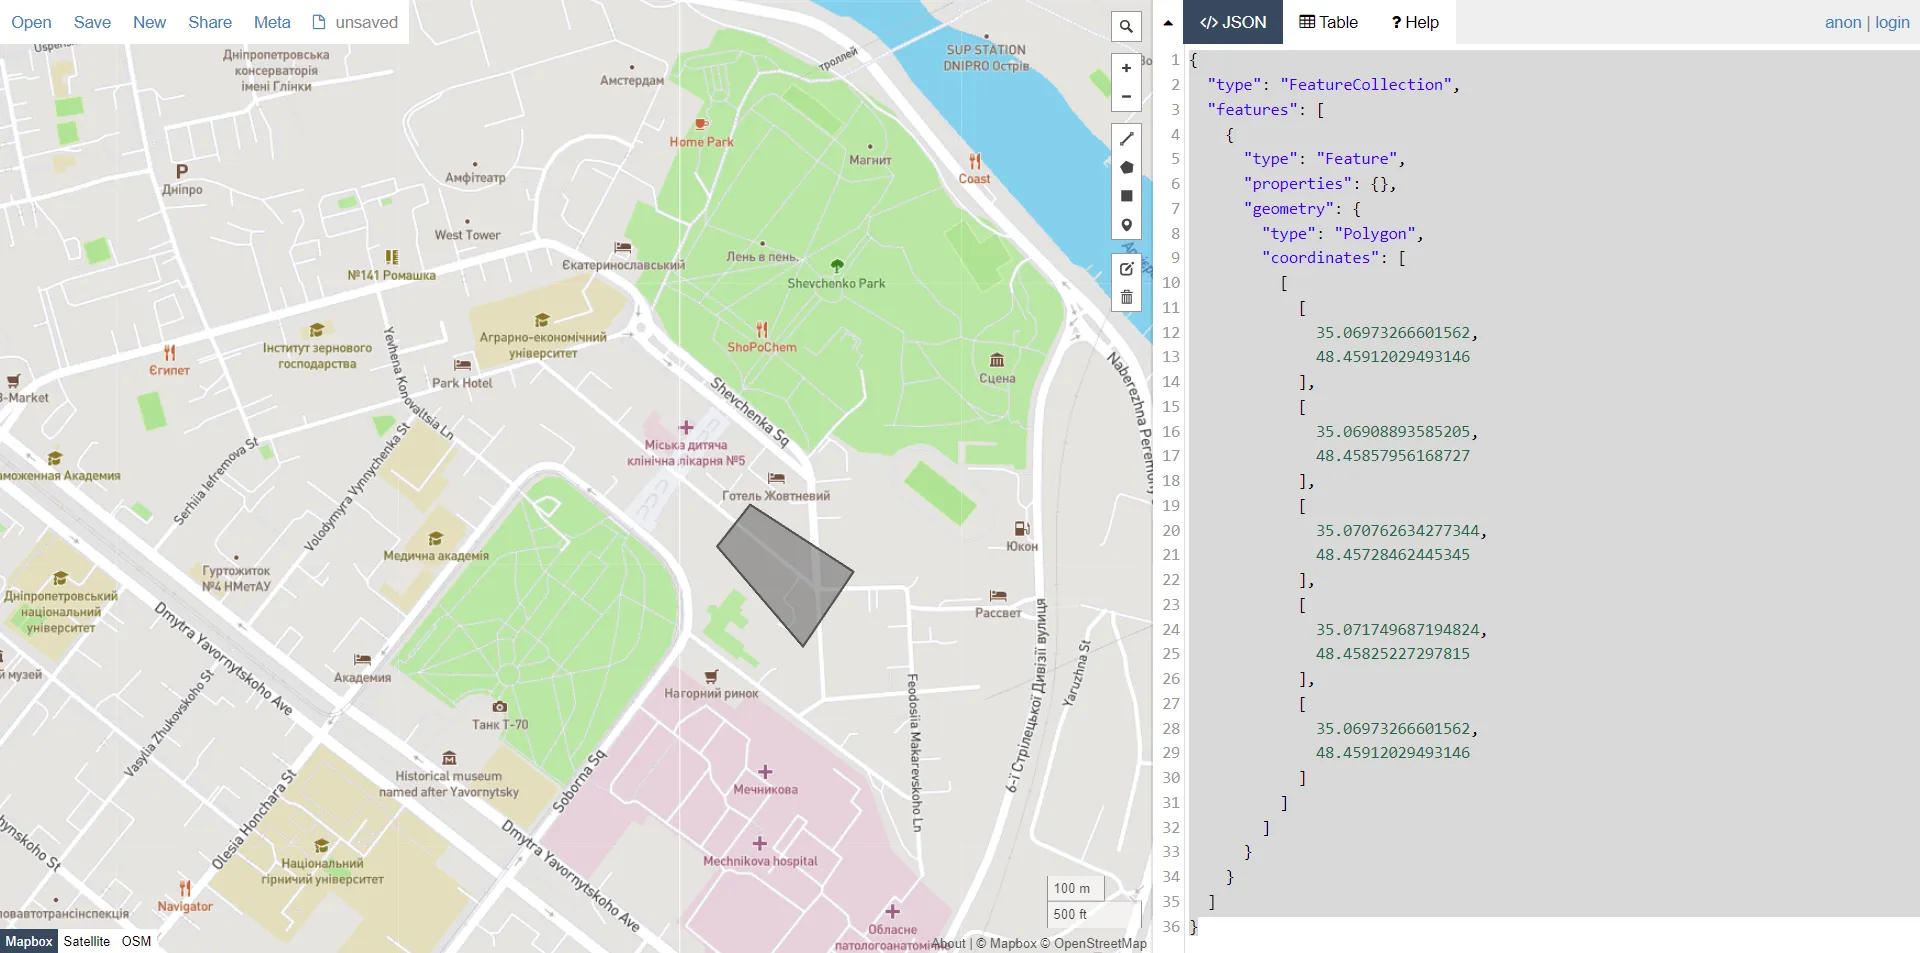
Save output as a json file.
In the Amazon Location console, open the Geofence collections page and create a new one. In the created geofence collection add our coordinates.

Step 2: Create a tracker
Now we will create a tracker that gets location updates. In the Amazon Location console, open the Trackers and create our tracker with default parameters. Then link this tracker to our geofence collection.
![]()
Step 3: Set up notification
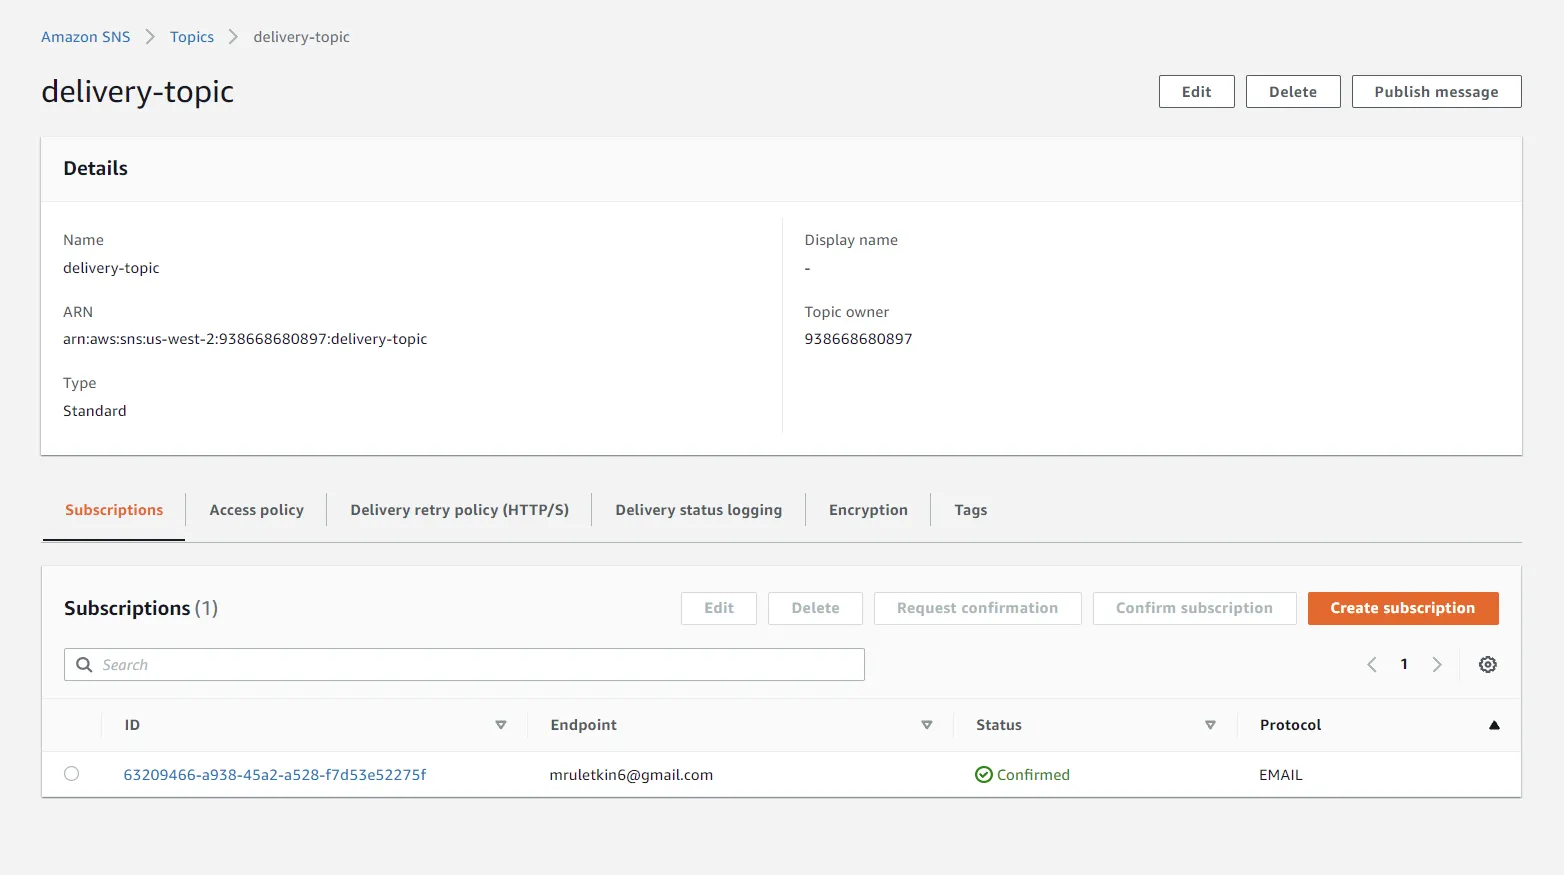
To get notification when a driver enters the geofence we have to use Amazon Simple Notification Service (SNS). In the Amazon SNS console, open Topics and create standart topic. In the topic create a subscription with Email protocol and enter your email address. After creation of subscription you will get a confirmation message by email.
Step 4: Create a Lambda function
In this step we create a lambda function that sends notification when the delivery driver enters the area.
import json
import boto3

sns_client = boto3.client('sns')

def lambda_handler(event, context):
    print(event)

    topicArn = 'arn:aws:sns:us-east-1:acct-num:delivery-topic'
    subject = 'Geofence notification'
    message = 'Your delivery is within the area, you should receive it soon!'

    response = sns_client.publish(
        TopicArn=topicArn,
        Subject=subject,
        Message=message,
        MessageAttributes={"email" : { "DataType":"String", "StringValue":"mruletkin6@gmail.com"}})
    return {
        'statusCode': 200,
        'body': json.dumps('Success!')
    }
{
"Version": "2012-10-17",
"Statement": [
{
"Sid": "VisualEditor0",
"Effect": "Allow",
"Action": "sns:Publish",
"Resource": "arn:aws:sns:us-east-2:*:delivery-topic"
}
]
}Step 5: Create EventBridge rule
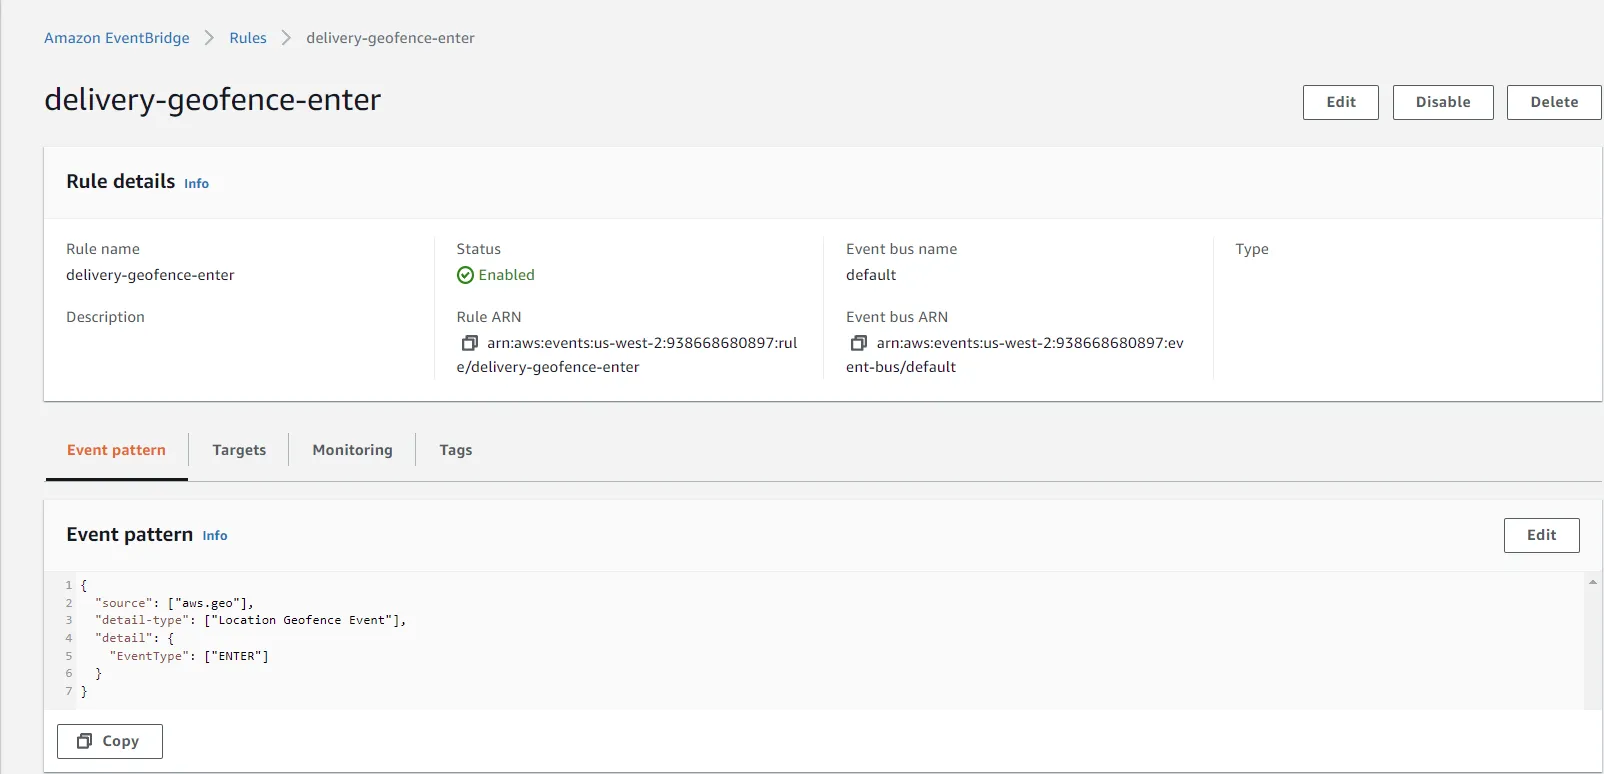
EventBridge rule will get geofence events from AWS Location tracker and routes that data to SNS topic. Create it in this way:
- — In the AWS EventBridge console, open rules and click on create rule;
- — On the first step, enter the name and leave other parameters default;
- — On the second step, configure the event pattern.
- — Choose AWS Services as event source, AWS Location Service as AWS service, Location Geofence Event as Event type and ENTER under specific type;
- — On the third step, choose Lambda Function as a target and define the name of the function;
- — Other steps leave without changing and create the rule.
Step 6: Set up a Lambda function
Create another one function that will publish the driver’s location to Amazon Location tracker. There are a few ways to receive geofences:
- — From a mobile device. You can call this function from a mobile application that transmits a location update.
- — Simulate position updates. You can create a Lambda function to publish synthetic device position updates.
We will use the second way.
from datetime import datetime
import json
import os

import boto3

client = boto3.client("location")

def lambda_handler(event, context):

    updates = []
    updates.append({
        'DeviceId': event['deviceid'],
        'SampleTime': datetime.now().isoformat(),
        'Position': [event['long'], event['lat']]
    })

    client.batch_update_device_position(TrackerName=TRACKER_NAME, Updates=updates)

    return {
        'statusCode': 200,
        'body': json.dumps('Success')
    }
Configure Permissions of this lambda by adding a policy that allows upload position update data. The value of Resource must be arn of tracker.
{
  "Version": "2012-10-17",
  "Statement": [
    {
    "Sid": "UpdateDevicePositions",
    "Effect": "Allow",
    "Action": ["geo:BatchUpdateDevicePosition"], "Resource":
    "arn:aws:geo:us-east-1:*:tracker/delivery-tracker"
    }
  ]
}
Test position update
Now we can test our use case. In Lambda console invoke the function and pass several test events.
This test event will put the сoordinates outside the geofence:
{
  "deviceid": "Person1",
  "long": 35.06816625595093,
  "lat": 48.457483847716304
}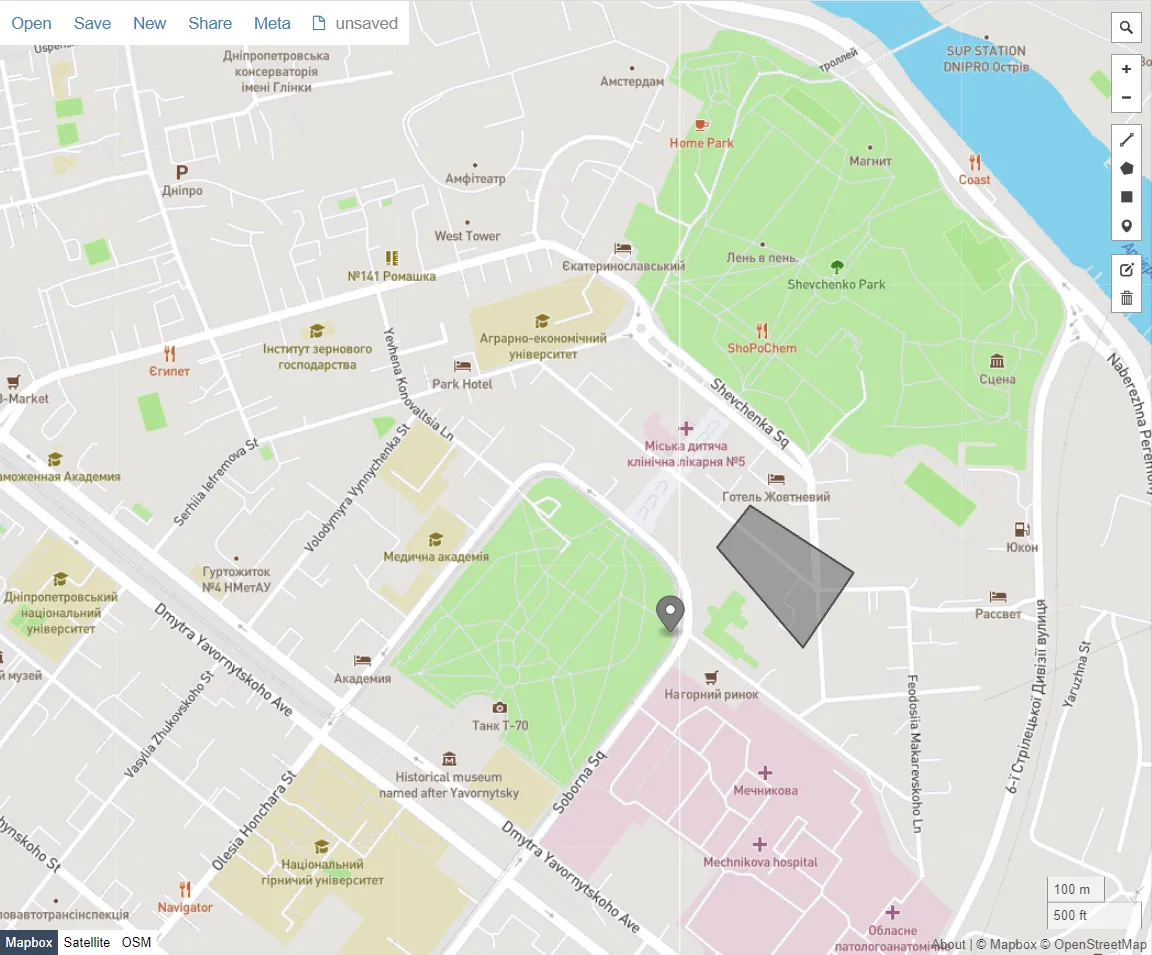
This one will trigger the ENTER event of the geofence and the EventBridge rule we created in the previous step will detect the event and trigger SNS notification:
{
  "deviceid": "Person1",
  "long": 35.07041931152344,
  "lat": 48.458195352987275
}
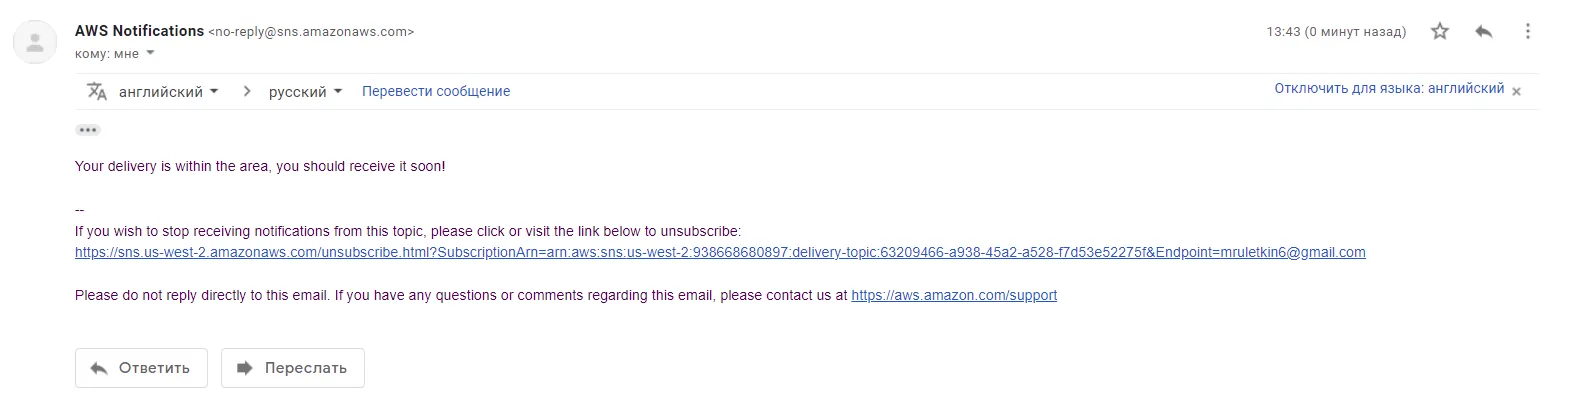
So here we’ve got our push notification:
Conclusion
In this article we walked through the steps of creating applications for getting notifications using Amazon Location SDK for Python (boto3).
Use case we implemented showed us a small part of AWS Location Service functionality.
To summarize it’s an important service that enables customers to create complex decisions using holistic AWS infrastructure that allows them to optimize the development process and costs.